Showing posts with label master. Show all posts

Thursday, April 21, 2011

Master Bedroom Makeover: Paint

After a long day of painting (9-6 with a one hour break to run out and get my new BFF), the master bedroom is fully painted and looking lovely!


I used Benjamin Moore's Crystalline from their Affinity line, which I color matched to Olympic's No-VOC paint (from Lowe's). I got two gallons (it's a big room!), and each gallon ran me about $23. Yes, it's a bit more expensive than regular brands, but we were able to sleep in the room last night comfortably and without worrying about what we were inhaling. And less than $50 for a room makeover is not too shabby, in my opinion.

The color is a soft aqua, which reads as either more blue or green depending on the light. (It looks much more grey in the colors I snapped because my camera sucks.)

Here's some more glamour shots.


I am so happy with the final product; it's really serene and beachy feeling in the room now. And let's face it, anything is an improvement over Navajo White. Oh, how I loathe you Navajo!

Now that the room is painted, I have a list of other projects I want to do to complete the room:
  • Make a DIY headboard
  • Make a linen bedskirt
  • Paint fireplace white
  • Rip out paneling
  • Do something about the shelves on either side of the fireplace...
  • Replace baseboard with something sexier
  • Crown moulding
  • New light and electrical plates
  • Get a round or quatrefoil mirror for over the dresser
  • Art, art, and more art
  • Find some nightstands and bedside lamps
How come every project just kicks off about 10 more? Oh well. I do want to bask in the glory of having painted my first room. (Only 8 more to go!) And I thought I would share with you what got me through 13 hours of painting in 36 hours.

First, and most importantly, something to distract me and keep me entertained. My top pick is This American Life - I think I caught up on every episode since we moved - but a good Pandora station will do in a pinch.

Second is a good roller. I like Purdy rollers, along with a 10 gallon bucket with a painting grate to roll off excess paint. My husband turned me onto this, and it is a huge improvement over painting trays.

This little guy is a welcome addition to my painting repertoire.


The hubs scored it for free, but I saw it at Home Depot yesterday. It's a great tool for painting around our windows and in between doors and walls.

Oh, and meet my new best friend. (Sorry, Jack.)

He's the Premium XL Tight Spots 2" Angle Short Handle Brush. He comes highly recommended by YHL, and you can get him at Sherwin Williams for a mere $5. Seriously, it's the best $5 I have ever spent! It took me 2 hours to cut in the same room that it took 5 hours to cut in the day before! The bristles are stiffer than the 2" brush I had been using, and the short handle did not make my hand cramp up like all the other brushes I have used. I refuse to paint anything without it now, and I am not dreading painting the rest of the house the way I was on Tuesday.

So what do you think? 

Wednesday, April 20, 2011

Master on My Mind

Since I spent five hours cutting in yesterday without even getting one roller's worth of paint on the walls, I had a lot of time to daydream about what I wanted the master bedroom to look like. In fact, I was kind of obsessively thinking about it as I discovered yet another corner to cut into or a door to cut in around. (Seriously, are 5 doors really necessary?)

So while I finishing up the painting TODAY - yes, I will finish today or die trying, even if it means Ryan will have to pry the paint roller from one lifeless hand and the paintbrush from the other - I leave you with what's bouncing around in my brain.

Here's my eye on the prize photo.

 High Gloss

I love the mix of beachy driftwood and succulents mixed in with other objects. Could something like this work for either side of the fireplace? 

Lonny 

And this fabric - Thomas Paul's "Dahlia" in Aegean for Duralee - *must* make an appearance somewhere in the room. Pillows? Curtains? Sitting chair fabric?


I am in love! Aqua, grey, and chartreuse used in a modern floral? Ah, yes please! 

Happy paint day Wednesday!

Tuesday, March 1, 2011

Masterful Musings

I am back today with my vision for what I want our master bedroom to look like. Here's my inspiration:

 
It's Jamie Meares' bedroom from the premier issue of High Gloss that I shared with y'all here. I don't even mind her brown bedspread the way I am loathing mine right now.

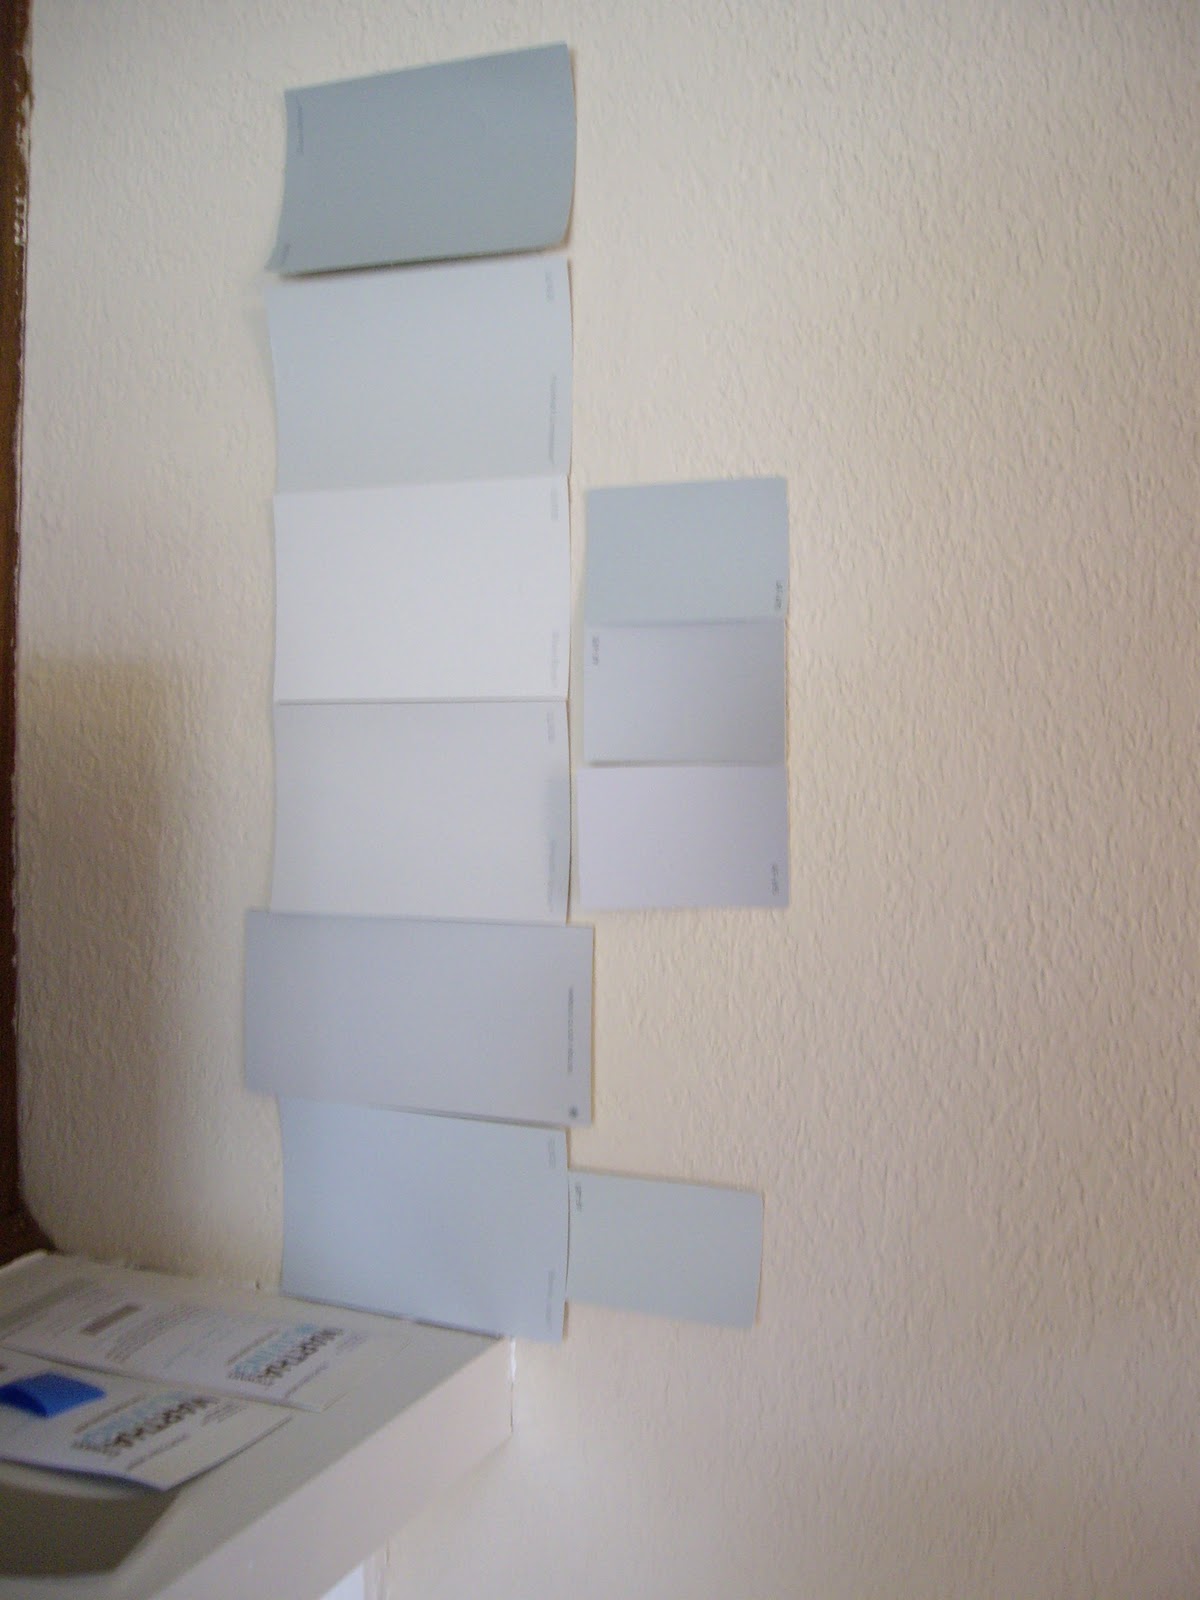
I think I have found a color that approximates the soft greenish blue-grey: Benjamin Moore's Crystalline from their Affinity line. In case it doesn't call out to you quite the way it does to me, it's the swatch on the bottom right.


Here's a close up. It's on the right, and the color of our old bedroom, Glidden's Barely Jade, is on the left.  I really like that it is more green than Barely Jade.


I still want to paint a larger swatch on the wall just to make sure that this is *the* color, but I think I am really honing in on it.

Even though my inspiration room is rocking brown bedding, I am hoping to change ours up after almost 6 years. I have my eye on some patterned bedding, and I also ordered some fabric swatches for pillows, window treatments, and possibly a headboard, but I am really struggling to figure out how all the pieces will fit together. They definitely can't all go together!

Here's what I keep coming back to: the Wakeful Ikat sheet set from Anthropologie.


With sheets this wild, we would definitely want to pick a more toned down duvet. I was thinking something solid and a bit textured, like linen, possibly in grey. I could make a couple of throw pillows with this fabric, or even some curtain panels.


But these curtain panels from West Elm would look swell too...


Or maybe this same Ikat pattern in a different colorway (for sale as fabric by the yard or custom upholstered on a headboard from West Elm), would look pretty sweet on a DIY headboard with this shape.


Perhaps a solid, textured fabric would be easier on the eyes and better weather my ikat (and chevron) mania...


Here's where it starts getting complicated. There is also this duvet cover from West Elm, which caught my eye back in the fall when it first debuted.


This fabric, from Dwell Studios, would make a lovely complement to the geometric pattern of the duvet.


I envision it as either window panels, or even better, as the fabric for the same DIY headboard mentioned above.

But just to complicate things further, I have also been contemplating bringing in more inky blues, a la my inspiration photo. Perhaps something like this comforter (not the whole set)...


We have paneling to rip out and walls to texture and paint before I start buying/sewing the soft goods, but what are your thoughts? Am I headed in the right direction? Which combo is calling out to you? 

Monday, February 28, 2011

New Casa: Now I Know Why They Call It a "Sweet"

Sorry for the play on sound in the title. I can't help it; I am an English teacher and get all giddy when being pun-ny. Even though our Master Sweet/Suite needs a serious face lift, we are loving having a bathroom right.there and tons of closet space.

Here's the view from the doorway. The bed is on the right, the dresser with the fun drawer liners in on the left, and the fireplace with 70's-tastic paneling is straight ahead.


Here's a closer pic of the mantle. It is pretty much an instant replay of our former master mantle with our bathroom art mixed in, but it is just a placeholder. Nothing is permanent at this point.


Here's the bed from the same vantage point as the above pic. I have big plans for that sea of brown bed linens. (In fact, I spent much of the weekend obsessively trying to find the perfect duvet or fabric for our new room. I will share findings and the front runner of the paint colors tomorrow.)


And below are the hub's double closets. He is thrilled to get to keep his clothes in the same room that he sleeps in. In our last house, the closet was only big enough to hold my clothes, so his were banished to the guest bedroom. (The only thing banished in this house is his hideous dresser, which is cleverly hidden on the left side of his closet so I can shut the doors when I tire of looking at it.)


To the left of the door (pictured above), is my closet and the master bathroom.


As you can see, my closet needs to go through yet another round of purging. All my clothes, shoes, and accessories fit, but just barely. I am realizing that I have a real problem.

And here's the bathroom.


We are hoping to widen it (by bumping out the wall on the right into the huge dining room), as well as replace the horrible vanity (which is super low for us tall folk) and the other hideous finishes. Oh, and I can't forget the best part:


Yep, right across from the commode is the only full length mirror in the house. I don't know what genius though this was a good idea, but no one needs to see what they look like using the loo. Something must be done to remedy this situation right away!

While all these changes might seem rather superficial, the shower does need some serious triaging.


Our lovely faux-tile shower insert (which we thought was real tile before we bought the house) is not attached to the wall at all! I know it's hard to tell from the photo above, but there is about a 1" gap for moisture to have a field day in between the shower insert and the bathroom wall. Yikes! Looks like someone will get getting out his caulking gun in the not-too-distant future. (Really guys, stop snickering and grow up already!)

But small changes, like bringing in our bath linens and shells from the old house, are already improving the space. As did removing this weird plastic thing.


Our best guess is that it's a holder for extra toilet paper, but my hairdryer seemed pretty comfy on it too, so who really knows?

Ahh, so much better with it gone!


I'll be back tomorrow with my nebulous visions of what the master bedroom might be. Stay tuned.

Tuesday, February 1, 2011

Current Casa: Master Bedroom

Let's move into the bedroom, shall we? Here's the master bedroom.


Here's the view from the doorway. (Don't mind Zoe; she insisted on being in the pic.)

Notice something is not quite right about the curtains. After I painted the room this summer - it's Glidden's Barely Jade - I had wanted to get some oil rubbed bronze window hardware to tie into the black fireplace surround, but I never got around to it. I guess we'll have to put the old ones up before we move.


Here's the fireplace mantlescape that I featured here. The tile used to be a hideous glossy brown that I painted Glidden's Dusty Miller. It's one shade darker than the walls, and the satin finish gives it a slight sheen that's wipeable. The mantel got a few coats of white paint, as did the baseboard, which we installed throughout the room.

Notice our snowboarding equipment in the corner niche. We were bursting at the seams and I had hoped to create a curtain to block it, but again, it never happened. This room has some curtain issues!


Isn't it interesting what you notice in pictures? I have wanted to DIY a headbaord for awhile, but I never noticed how desparately this wall is calling out for something until I took this pic.


Here's the wall opposite the fireplace. The dresser has since been Craigslisted and sold. Yay! One last thing to move!

But let's focus on that dresser, which was also a Craigslist find. It's the mid-century modern style we adore, and we especially like the carved drawer handles.


The corner of the dresser next to the mirror is where I keep my hair ties, jewelry, and make-up.


That's pretty much the whole room.

Stay tuned - tomorrow I will share how I lined the dresser drawers using wrapping paper I saved from our wedding. It's a sweetly sentimental surprise every time I get dressed!

Tuesday, January 18, 2011

Disappearing Act

Something must be done about the fireplace in the master!


Yes, that's the master...See, the master suite used to be the family room before the 1980 addition of the current living room.


So let's be honest, both fireplaces are a bit of an eyesore. But our big beef right now is with the master fireplace because it makes the bedroom really feel like a living space. So we have been brainstorming ways to make it disappear, or at least integrate it into the room so it feels more like a bedroom.

We already have some ideas: paint the paneling and the brick pronto! We are not sure what color to paint it yet, but even just a coat of white might help camouflage it.

When I went online to find more inspiration, I noticed that there is a real dearth of bedroom fireplace pictures. Here's all I found:


Pathetic, I know. But one thing I noticed in all the pics above (from pininterist.com, by the way), is that the fireplaces all jut out into the room like ours does. What's one either side of the them varies; some, like the last picture, use shelving painted the same color as the wall, while the others have some kind of cabinet or furniture piece on at least one side of the fireplace.

So I then decided to search for fireplaces that I like. Here's what I found.


Well, we don't have windows on either side of the fireplace, so that's definitely out. But both pictures (also from pininterest.com) feature cleaned up white shelving and a weightier mantel. This we can do!

So here's our plan as of right now: paint the paneling the same color as the walls (still TBD), paint the brick (probably white), add a beefier mantel, and remove the shelving dividers to create a more open look. (Maybe even paint the back of the shelves!)

Ryan has one more thing he'd like to do - insert a wood burning stove to really crank up the heat since his dear wife is always cold. So the fireplace would look something like this.


Any suggestions for us? Are you seeing something that we don't?