Showing posts with label mains. Show all posts

Tuesday, August 16, 2011

Speedy Meals: Linguine with Sausage and Peppers

School is back in session as of last Wednesday, which means that life has shifted into high gear around these parts. Since I am not alone in trying to juggle life and work, while still having time for a decent and (relatively) healthy meal, I thought I would share my mission for this school year: to make some speedy, balanced, and cheap weekday dinners so that the hubby and I can still make time for the family table.

It may sound old fashioned, but the act of sharing at least one meal a day together is really important to me. My family ate dinner together every night, and now Ryan and I do too; we don't have T.V. to distract us while eating, so our dinners are the time for us to share about our day and really talk to each other. This is especially true during the weekdays, when I often have work to get back to as soon as dinner is done.

But I find I don't look forward to lingering over a meal if I have spent too much time cooking. So I really want to strive to make some dinners that are quick, easy, healthy, and inexpensive. My plan is  to use as much of the produce that we grow as I can, to make meals that lend themselves to leftovers, as well as to utilize tools like the Crockpot.

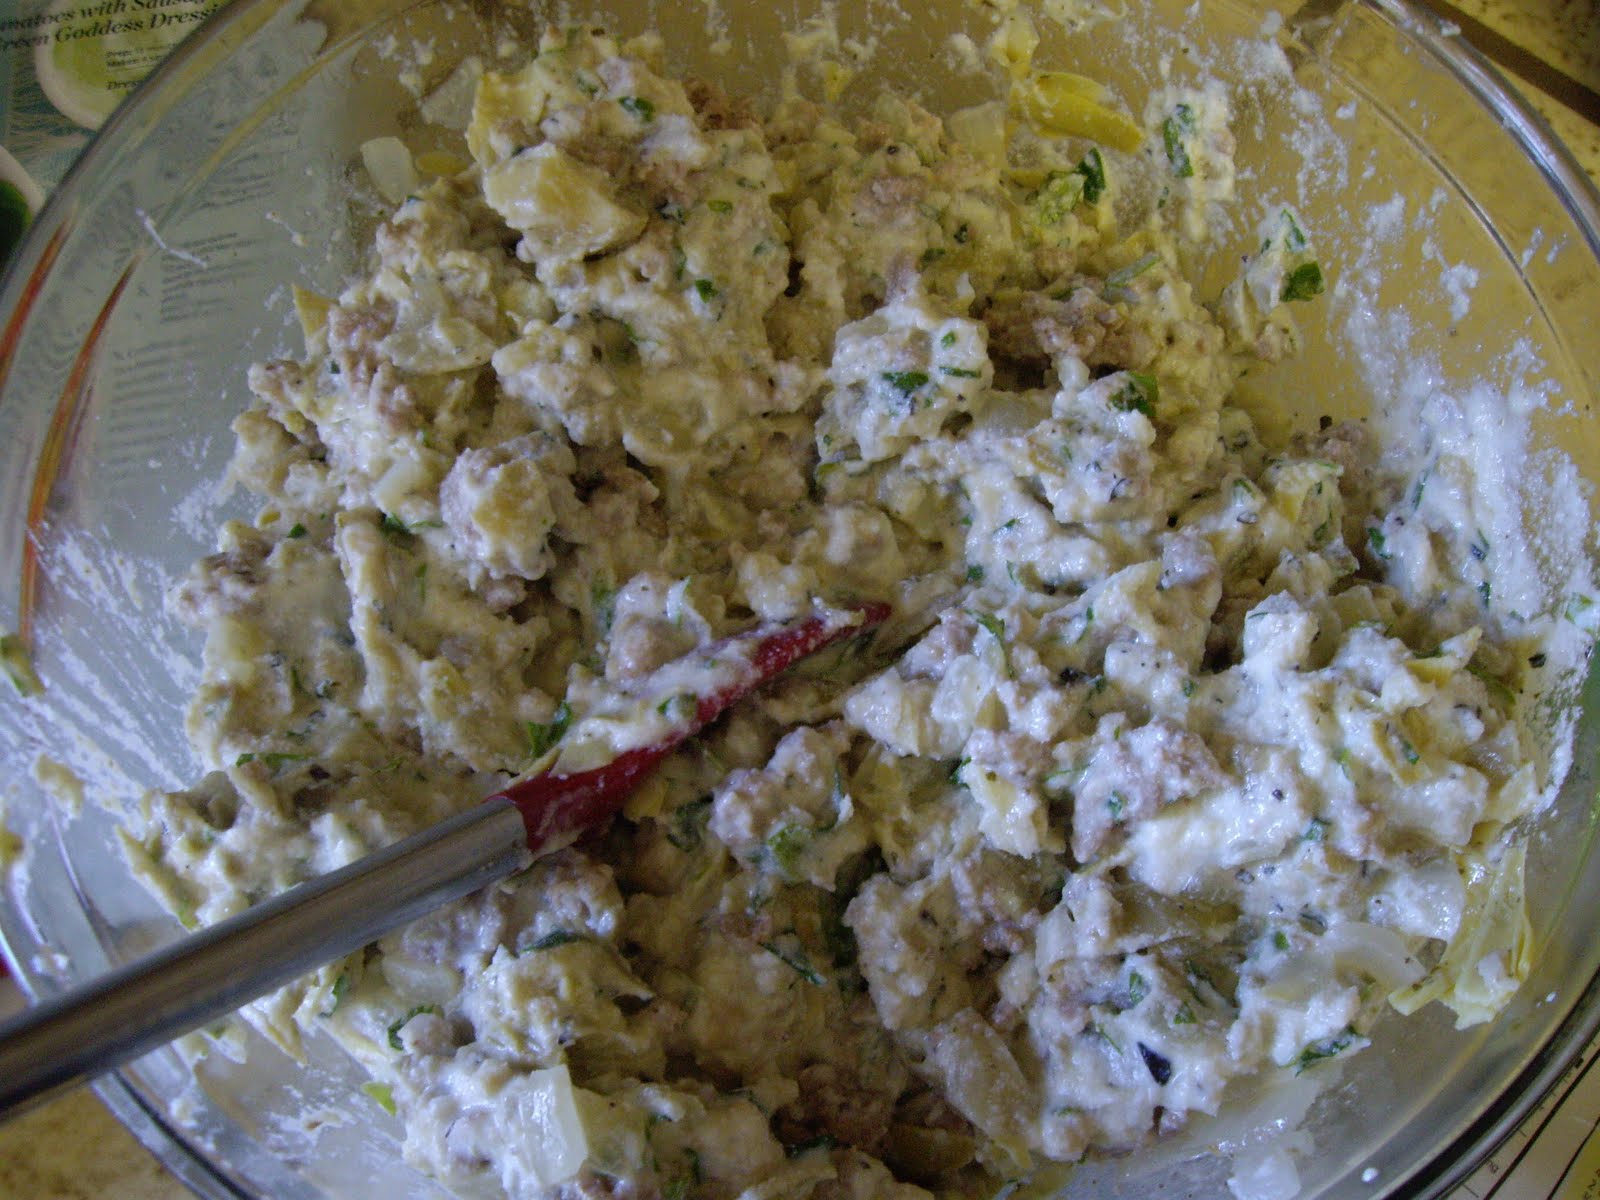
This first speedy meal came about courtesy of some sausage we had left over from a weekend barbecue and Everyday Food: Great Food Fast.


(This cookbook is great, by the way. It is organized by the seasons, and even though it is waaay underused around here, the few things I have made from it has been easy and turned out well.)

So without further ado, Linguine with Sausage and Peppers, which you can whip up in about 30 mins.

Ingredients:
  • 1 lb linguine (I used whole wheat to try to up the healthy factor)
  • 1 lb turkey sausage, casings removed (I used what we had on hand: some kind of chicken sausage and chorizo, and the casings stayed on)
  • 6 garlic cloves
  • 4 yellow or red bell peppers, thinly sliced
  • 4 Tablespoons butter
  • 4 cups arugula, torn
Directions:

Bring some salted water to a roiling boil, and cook according to package directions. Drain, reserving 1-1/2 cups of pasta water. 

Meanwhile, cook the sausage in 2 tablespoons of water in a skillet over medium heat, about 5 minutes. Raise the heat to medium-high, and cook an additional 7 minutes or until sausage is cooked through. (You can skip these steps if your sausage is already cooked like mine was.) 


Add the garlic, bell peppers, and 1/4 cup pasta water. Cook until peppers soften, about 6 minutes. 


Add 3/4 cup of pasta water and the butter; stir to combine. 


Transfer pasta and sausage mixture back to the pot. 


Add the arugula, season to taste with salt and pepper, and toss to combine. 


Enjoy! 

What's your favorite weeknight meal? Is there a cookbook, a tool, or a go-to source that you rely on to get you though the week? 

Thursday, June 30, 2011

2 Night Meal

Confession time: I love leftovers. They make my life so much easier, and often times, the food tastes as good or even better (hello, chili), the next day. Plus, when you make something really tasty, why would you only want to enjoy it once?

I will let you in on another little secret: I don't enjoy cooking when I have to do it, and that's what it feels like when I need to prepare a different meal every night; but I do enjoy and look forward to cooking when it is not a daily chore. That said, I love recipes that can get us through two meals or more. And this one, from Giada (the hubby's fav Food Network host), is sensational for leftovers.


Here's what you'll need:

  • 1 box jumbo pasta shells
  • extra-virgin olive oil
  • 1 small yellow onion, chopped
  • 3 cloves garlic, diced
  • 1 lb. ground turkey (beef will work well too)
  • 1/2 teaspoon salt, plus 1/2 teaspoon
  • 1/4 teaspoon black pepper, plus 1/4 teaspoon
  • 1 package frozen artichokes, or one can/bottle (approximately 14 oz.) marinated artichoke hearts 
  • 1 (15 oz.) container ricotta cheese
  • 2 eggs, lightly beaten
  • 1/4 cup chopped fresh basil
  • 2 Tablespoons chopped fresh parsley 
  • Grated mozzarella to taste
Here's how you put it together:
  • Bring a large pot of salted water to a roiling boil. Add the pasta and cook according to package directions, and drain. Set aside.
  • Meanwhile in a large skillet, heat olive oil over medium-high heat and add onions and garlic, cooking until the onions are soft and starting to brown, about 5 minutes.
  • Add the ground turkey, 1/2 teaspoon salt, and 1/4 teaspoon pepper and continue to cook until turkey is brown. Remove from heat and let cool. 
  • In a large bowl, combine the cooled turkey mixture, ricotta, eggs, basil, parsley, and remaining salt and pepper. Stir to combine. 


  • To stuff shells, cover the bottom of a lasagna dish with 1 cup of Arrabiata sauce (recipe to follow). Take a shell in the palm of your hand and stuff it with a large spoonful of the turkey mixture. Place stuff shells (12-14) in the lasagna dish.
  • Drizzle the leftover sauce over the shells, top with the grated mozzarella to your preference.
  • Bake at 400 degrees for 25 minutes or until golden brown. (Note: This recipe will freeze for up to a month. If freezing, cook at 400 degrees for 1 hour or until the shells are cooked through.
Now for some doctored Arrabiata Sauce...
  • extra-virgin olive oil
  • 2 cloves garlic, diced
  • 2 teaspoons crushed red pepper flakes
  • 6 oz. of panchetta (optional but yummy)
  • 5 cups jarred marinara sauce
Heat the olive oil over medium heat. (I use the same skillet I used to brown the turkey just to cut down on dishes and reuse some of the flavors from the filling.) Add the panchetta, if using, and saute until golden brown, about 5 minutes. Add the garlic and saute for another minute. Add the sauce and crushed red pepper and bring to a simmer. 

Note: You could definitely definitely just use straight out of a jar sauce, but I like to use the arrabbiata sauce when making this dish with turkey, as turkey can be rather bland, and this doctored sauce adds some flavor and spice to the dish. 


What make ahead or leftover dishes are your go-to dishes? Let me know so I can file them away for the school year!

Monday, May 9, 2011

Mother's Day Meal

We had both of our moms over for dinner last night to celebrate Mother's Day. I decided to make a dish I love, but that we only have on very special occasions: BBQ filet mignon with blue cheese and crispy shallots.


Ryan is the master of the grill, but I prep the filets with some olive oil, kosher salt, and pepper, which I rub into the filets. Ryan then cooked the filets for five minutes per side (we like them pink in the middle in this family), and when they were done, we let them rest for 10 minutes while I fried up the shallots. More on that in a second.

While they were resting under some loose tin foil, I placed a little slice of Point Reyes Blue cheese on the filets to melt like so:


Then I got to work on the crispy fried shallots. I sliced 2 shallots into long, thin slices and then dredged them in corn starch.


Then I heated some vegetable oil over high heat, and when it began to bubble away, I added the shallots, letting them fry up until they were golden brown.


Lastly, I removed them with a fork and let them drain on a paper towel.


The last step was to add them to the filets right away so they remained crispy. Soggy shallots are no fun.


The sweet shallots were the perfect contrast to the sharp blue cheese. Yum. Oh, and the Crispy Oven Fries and homegrown salad on the side was pretty good too. (More on that and the low-fat carrot cake we had for dessert in the days to come since this post is getting a bit long.)

Here's the table all gussied up with our gemini roses, which are in full bloom these days.


I would have loved to use our china and crystal, but it's still in boxes since we don't have as much storage in our new place. But hopefully those big roses, which my mom said were so perfect that they looked fake, distracted attention away from our everyday plates.


Happy Mother's Day to all the moms, moms-to-be, aunties, and grandmas out there! What did you all do to celebrate Mother's Day?

Wednesday, March 16, 2011

Shepherd's Pie

I can't stomach Corned Beef and Cabbage, but I love me some Shepherd's Pie. And with St. Patrick's Day tomorrow, I thought I would offer up a recipe that is a festive alternative to more traditional Irish fare.

Ingredients
  • 1 yellow onion, chopped
  • 1 lb ground beef or cubed beef (like you would use for stew) - Note: I have used both elk and buffalo meat instead of beef, and it is stupendous!   
  • handful mushrooms, chopped
  • 1 zucchini, chopped
  • Marsala Red Wine Sauce (optional - see recipe below)
  • mashed potatoes - Here's a recipe from Martha Stewart that I really like if you don't already have a preferred way of making them
  • grated sharp cheddar for sprinkling over casserole

Marsala Red Wine Sauce
Saute one finely minced shallot in olive oil until tender. Add one cup red wine and 1/2 cup Marsala. Bring to a boil and simmer until reduced by 1/3. Add 3/4 cup beef demi glace (the stuff from Williams Sonoma is phenomenal) and 2 T red currant jelly (or whatever jelly you have in the fridge). Lastly, add 1.5 t butter (cut into little cubes), one cube at a time, whisking until fully incorporated. Remove from head and add pepper to taste. 

(This sauce is perfect over filets. I had some left over from Valentine's Day, so I thought I would throw it into the casserole. It was a welcome addition that I will definitely incorporate from now on, although the Shepherd's Pie still tastes delicious without it.)

Shepherd's Pie:
Saute onion and meat in some olive oil until browned. Scatter over the bottom of a casserole dish, like so:


Add mushrooms and zucchini on top: 


Top with Marsala Red Wine Sauce and mix.


Cover mixture evenly with mashed potatoes. 


(I forgot to snap a pic before I began adding cheese. Sorry :) Now smother in cheese.


Pop in a 350 degree oven for 30-40 minutes, or until the cheese is melted and the potato peaks are golden. Enjoy with a green beer!

I will be sharing my recipe for Blue Velvet Cupcakes tomorrow, which can easily be turned into Red or Green Velvet depending on the occasion. We gotta wash that casserole down with something sweet, right? 

Tuesday, January 11, 2011

Chicken Enchiladas

I was introduced to this recipe by a roommate in college, and have made it so regularly over the years that I don't have it written down anywhere. It's high time to change that! I normally try to cook from scratch as much as possible, but these enchiladas are true comfort food, and except for the time it takes to cube or shred the chicken, it doesn't take long to throw together thanks to the short list of ready-made ingredients.

Ingredients
4 boneless, skinless chicken breasts (I like free range. What can I say? It's the granola girl in me.)
2 onions
1 small can of fire-roasted diced green chiles
8 oz sour cream (I use low fat)
1 can of cream of chicken soup (I use low fat)
6-8 flour tortillas
1 can enchilada sauce
1 small can sliced black olives
grated cheese (cheddar or jack works well)
salt and pepper to taste

Prep
Bring a large pot of water to boil. Add the chicken breasts and 1 quartered onion. Return to a boil for 20 minutes or until cooked through. Drain and cube or shred chicken. Set aside and discard the onion.

Finely dice the second onion and saute with some olive oil (in the same pot used to boil chicken) until the onions are translucent. Add cubed/shredded chicken, chiles, sour cream, and cream of chicken soup. Stir to combine.

At this point, preheat the oven to 350 degrees. Pour a thin layer of enchilada sauce into the bottom of a rectangular baking dish. Spoon the chicken filling into tortilla and gently place enchilada in the baking dish, folded side down. Continue until baking dish is full. Cover generously with enchilada sauce, then sprinkle with cheese and top with olives.

Bake for 30 minutes or until the cheese is bubbly and the edges of the tortillas are starting to crisp. Let it sit for 5 minutes before serving. (I like to serve it with some black or refried beans.)

Sorry the lack of photos. It doesn't photograph well, but it makes a mean leftover! We feasted on them for the last two nights and I still have a little leftover for lunch. Enjoy and please keep your fingers crossed that we pass inspection today!

Monday, January 3, 2011

New Years Recipes

I have taken the weekend to wallow in my funk over losing out on our first home offer. Delayed reaction, I suppose. I didn't post or really workout (except for a sweet afternoon walk in the rain with the hubs), and I barely cleaned, but I did do some reading and eating.

I have lost myself in Jonathan Franzen's The Corrections, which I am loving *almost* as much as Freedom. This is probably just the English teacher in me, but there is nothing in the world quite like a good book...


Except for some killer crab and double-layer brownies! So without further ado, here is what we grubbed on to ring in the 2011. It might just become a tradition! 

Dungeness Crab

Serves two people, so just double or triple the recipe as needed! 

Ingredients
1/4 c butter 
1/4 c olive oil
2 T minced garlic
1 T minced shallot
1 1/2 t dried crushed red pepper
2 large Dungeness crabs, cooked, cleaned, and cracked (about 4 1/2 lbs)
2 T chopped fresh thyme, divided
2 T chopped fresh parsley, divided
Salt and pepper to taste

2 blood or regular oranges to yield: 
1/2 c blood or regular orange juice
1 t finely grated blood or regular orange zest

Prep
Preheat oven to 500 degrees. Melt butter with oil in a heavy large ovenproof dutch oven or roasting pan over medium-high heat. Stir in garlic, shallot, and dried crushed red pepper. Add crabs and sprinkle with salt and pepper, if desired. Sprinkle one tablespoon each chopped thyme and parsley over crabs. Stir to combine. Place in oven and roast crabs until heating through, stirring once, about 12 minutes. 

Using tongs, transfer crabs to platter and loosely cover with aluminum foil. Add orange juice and zest to remaining sauce; boil until sauce is reduced by half, about 5 minutes. Spoon sauce over crabs. Sprinkle with remaining herbs and serve with a simple salad and some warm crusty sourdough bread.

Recipe and image courtesy of Epicurious

And now for some dessert! 

Espresso-Shortbread Brownie Bars

Ingredients
SHORTBREAD CRUST
1 stick plus 2 T unsalted butter, softened or melted
1 1/2 c all-purpose flour
1/4 c sugar
1 T finely ground espresso beans
1/2 t kosher salt

BROWNIE TOPPING
1 1/2 c all-purpose flour
2 T unsweetened cocoa
1 t kosher salt
1/2 t baking powder
1 stick plus 6 T unsalted butter 
4 oz unsweetened chocolate, chopped
2 c sugar
1 T pure vanilla extract
3 large eggs

Prep
  1. Make the shortbread crust: Preheat the oven to 350 degrees. In a food processor, combine the butter with the flour, sugar, ground espresso, and salt; pulse until coarse crumbs form. Press the crumbs into a 9 x 13 inch baking dish to form a crust. Freeze for 5 minutes. Prick all over with a fork and bake in the lower third of the oven for 30 minutes, until the crust is golden and cooked through.
  2. Prep brownie topping: In a medium bowl, combine the flour, cocoa, salt, and baking powder; set aside. In a double boiler, melt the butter with the chocolate over low heat. Remove the double boiler from heat and stir in the sugar and vanilla until combined, then stir in the eggs. Add wet ingredients to the dry ingredients and stir until the brownie batter is smooth. 
  3. Bake: Pour the brownie batter over the shortbread crust, smoothing the surface. Bake for 30 minutes, until the brownie top is dry and lightly cracked around the edges and an inserted fork comes out clean; the center will still be a bit soft. Let cool completely before cutting into bars. 
Recipe courtesy of Food & Wine, May 2010

Serve warm with some vanilla bean ice cream! Perfection.

Happy cooking and eating! I'll be back tomorrow with my resolutions for 2011. Stay tuned!