Wednesday, August 17, 2011

Botany Charts

You all know about my obsession with vintage school maps in living areas. I love this look so much I even snagged a 1960's map of Europe for a song on eBay. But a trend I am seeing everywhere and really warming up to is botany (and zoology) charts. I guess it's no surprise, since schoolhouse maps are like the first cousin of botany charts.

Here's the image that sparked my enchantment.


(I can't remember where it's from. One of the online shelter mags I love, most likely. If you know, please drop me a line so I can credit the source properly.)

Of course, the beautiful birds-eye maple dresser and grasscloth rug below the chart don't hurt either. And I am surprisingly smitten by that almost black wall.

Here's some more for you to enjoy.

Dean Learner via Pinterest

Marie K via Pinterest via papernstitchblog.com

Lizette Pitout via Pinterest

If you are into this growing (pun intended) trend too, check out The Foundary. They are having an "Animal Traits" sale today. 

Tuesday, August 16, 2011

Speedy Meals: Linguine with Sausage and Peppers

School is back in session as of last Wednesday, which means that life has shifted into high gear around these parts. Since I am not alone in trying to juggle life and work, while still having time for a decent and (relatively) healthy meal, I thought I would share my mission for this school year: to make some speedy, balanced, and cheap weekday dinners so that the hubby and I can still make time for the family table.

It may sound old fashioned, but the act of sharing at least one meal a day together is really important to me. My family ate dinner together every night, and now Ryan and I do too; we don't have T.V. to distract us while eating, so our dinners are the time for us to share about our day and really talk to each other. This is especially true during the weekdays, when I often have work to get back to as soon as dinner is done.

But I find I don't look forward to lingering over a meal if I have spent too much time cooking. So I really want to strive to make some dinners that are quick, easy, healthy, and inexpensive. My plan is  to use as much of the produce that we grow as I can, to make meals that lend themselves to leftovers, as well as to utilize tools like the Crockpot.

This first speedy meal came about courtesy of some sausage we had left over from a weekend barbecue and Everyday Food: Great Food Fast.


(This cookbook is great, by the way. It is organized by the seasons, and even though it is waaay underused around here, the few things I have made from it has been easy and turned out well.)

So without further ado, Linguine with Sausage and Peppers, which you can whip up in about 30 mins.

Ingredients:
  • 1 lb linguine (I used whole wheat to try to up the healthy factor)
  • 1 lb turkey sausage, casings removed (I used what we had on hand: some kind of chicken sausage and chorizo, and the casings stayed on)
  • 6 garlic cloves
  • 4 yellow or red bell peppers, thinly sliced
  • 4 Tablespoons butter
  • 4 cups arugula, torn
Directions:

Bring some salted water to a roiling boil, and cook according to package directions. Drain, reserving 1-1/2 cups of pasta water. 

Meanwhile, cook the sausage in 2 tablespoons of water in a skillet over medium heat, about 5 minutes. Raise the heat to medium-high, and cook an additional 7 minutes or until sausage is cooked through. (You can skip these steps if your sausage is already cooked like mine was.) 


Add the garlic, bell peppers, and 1/4 cup pasta water. Cook until peppers soften, about 6 minutes. 


Add 3/4 cup of pasta water and the butter; stir to combine. 


Transfer pasta and sausage mixture back to the pot. 


Add the arugula, season to taste with salt and pepper, and toss to combine. 


Enjoy! 

What's your favorite weeknight meal? Is there a cookbook, a tool, or a go-to source that you rely on to get you though the week? 

Monday, August 15, 2011

Hot Tub Time Machine

So almost a week ago I promised pictures of our functional - whoop, whoop! - hot tub. Thanks to 9 days of migraining (yes, it's a verb now), I am just getting you the pics now. My apologies. But I must caution you: don't get too excited. Perhaps more than anything else in the house, besides the driftwood stone fireplace in the living room, the hot tub transports you to a bygone era.

Let's approach this relic of the 80's slowly...


Okay, some of the framing is a little loose, but it's nothing a nail gun couldn't fix in a nanosecond.


The inside is in decent shape. There's a sweet tiled border that really shows the tub's age, but hey, the post is not called "Hot Tub Time Machine" for nothing.


The tile carries over onto the outside of the tub.


But wait, it gets worse...


And worse.


I'm guessing you don't want to go for a soak right about now do you? Well, it's too bad because the views from the hot tub at night are amazing; you can see the twinkling city lights, watch airplanes land and take off, or just gaze at the stars and the mountain ranges in the background. (Our almost-as-old-as-our-hot-tub camera couldn't capture a clear night picture to show you. I'll get back to you once we upgrade in about a month.) It's pretty darn relaxing, even when it's too foggy to see any stars, planes, or lit-up houses.

Enter Phase II. We'll start by nailing these boards back into place,


and then we will work on the tiled corners of the tub. The hubs, a lover of all things wood, wants to create some kind of design with different kinds of wood; I want to retile it in something less offensive. Whatever we do, we want it to be on the cheap. We don't think this guy is going to be around for much longer, and we have big plans to rip out the tub and deck (and jackhammer up all that concrete underneath) in order to extend the grass throughout the back yard. So basically, we need a solution that will last about a year. Something good enough that people wouldn't be afraid to set their drinks or towels down on the edge of the tub, but not so nice that we'll never want to get rid of it. Stay tuned for what we come up with.

Oh, in case you were wondering what Phase I consisted of, it went as follows: we used a shop vac to suck up the rotting acorns and stagnant water in the tub. Yummy. Then we used a diluted bleach solution to clean it, making sure to scrub the surface really well thanks to said rotting acorns. We then rinsed off the bleach, shop vacced that up, and once we were certain it was clean, filled it with water and chemicals according to the package directions. Hazzah! (Oops, I guess that one's a little further back in time than the 80's.)

Tuesday, August 9, 2011

New Brain on Backorder

I have been struck down with a migraine. Drat. So instead of posting about how we got our hot tub up and running, I am leaving you with something pretty to look at from the latest issue of Rue.

 
Love the complementary lamps, the mirror, the console, and all that yummy texture.

Let's hope the new, migraine-free brain gets here today so I can post about our tub tomorrow.

Monday, August 8, 2011

Creating Boundaries: The Resurrection

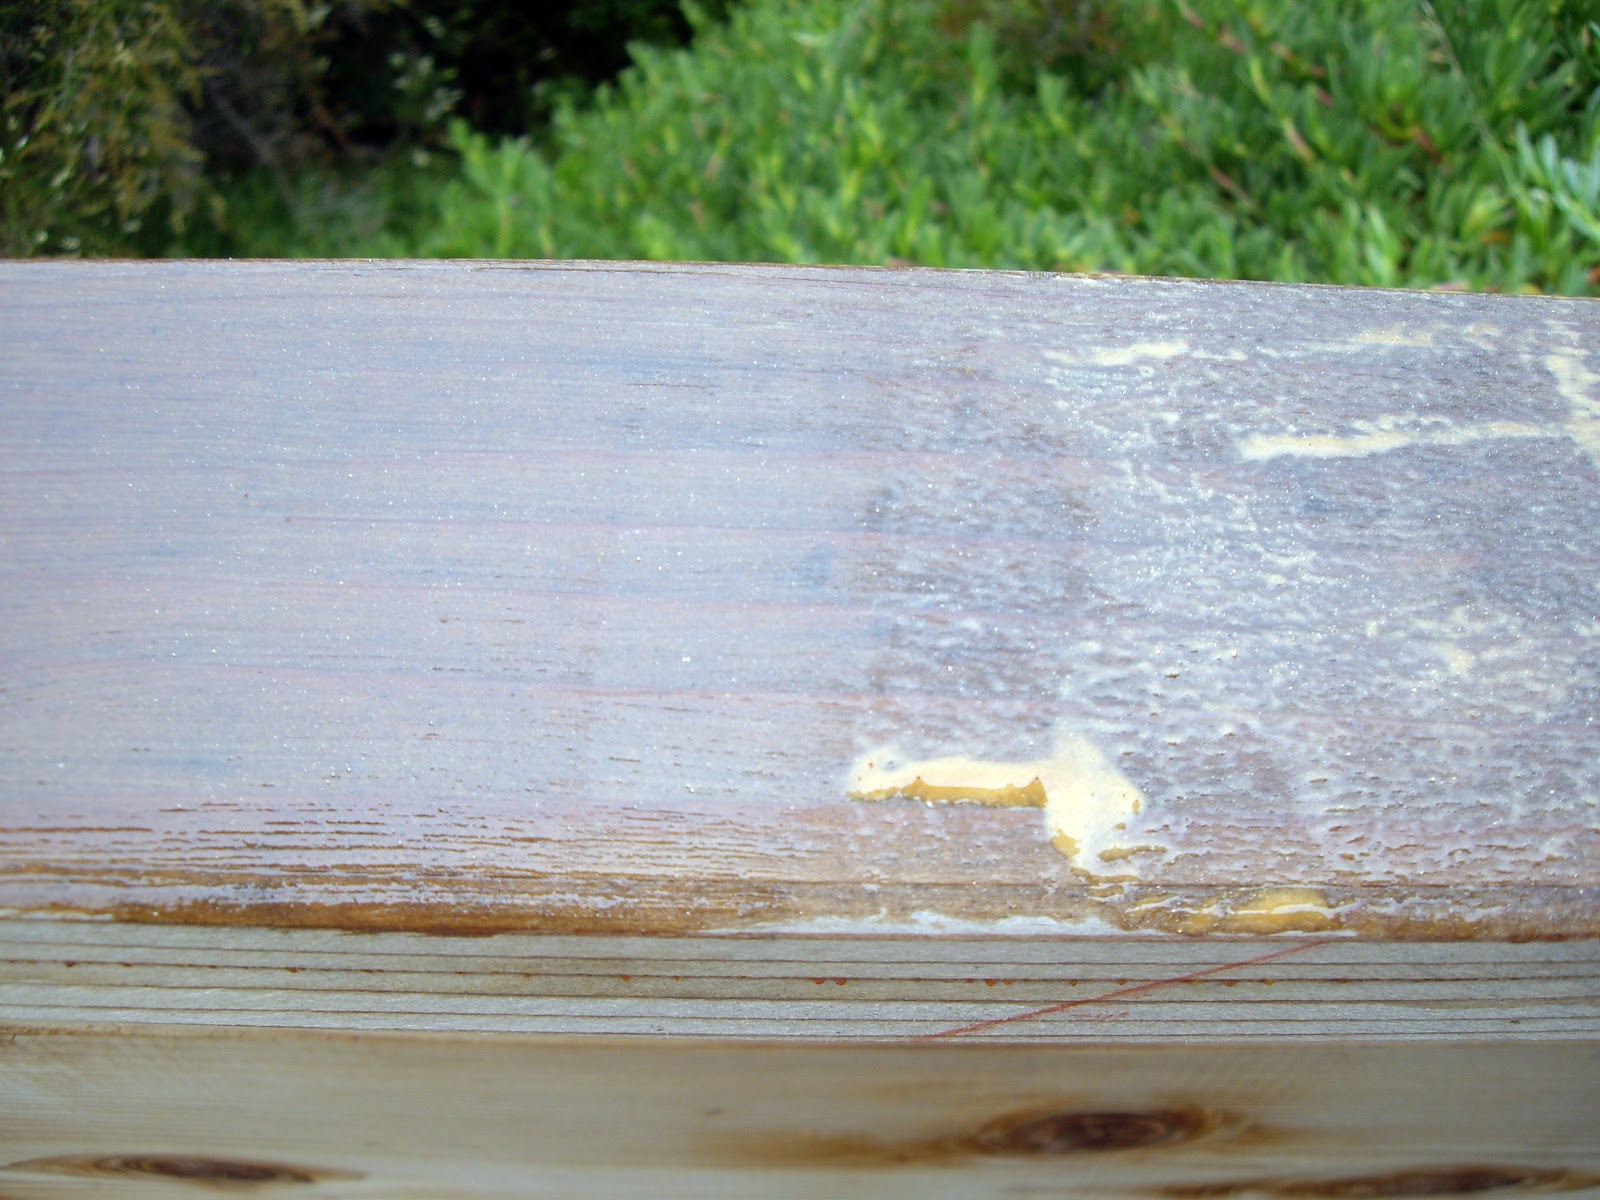
Just when you thought the fence was a done deal, it's come back to haunt Glam Granola. You see, we couldn't convince Ryan's dad to help us plaster this weekend (I scared him with all the posts about how labor intensive it is I have no idea why), but he convinced us to stain our fence so that it doesn't turn grey or black.


You can see it was already starting to lose its reddish glow.


But thanks to about three hours of work, the fence is radiant again.


It was a team effort to get to this point; I cut in and painted the top, while Ryan and his dad came up with this system to paint the bottom of the fence. Ryan's dad rolled the stain on, and Ryan used a 3" brush to back-brush what his dad had rolled, filling in any gaps as he went (which he's doing above).


In fact, their system was so successful that I adopted it for the top of the fence. I used this mini roller we have hanging around to roll on the stain, and then I back-brushed it before it could dry.


I would highly recommend investing in one of these baby rollers! Rolling and back-brushing went much faster than brushing everything in, especially since the redwood soaks up the stain pretty quickly, thus you have to use a lot more stain than you do paint (which I am much more familiar with).

For those of you who want to the details, we used Behr Premium Wood-Toned Deck, Fence, and Siding Weatherproofing Wood Finish in Cedar Naturaltone in No. 501 to stain and protect the redwood.


We chose Cedar Naturaltone instead of the Redwood Naturaltone because we thought the yellow of the cedar would still allow the natural red of the wood to shine through without making it look exaggerated or unnatural, the way the Redwood Naturaltone did in the store's mock up.

We got a 5 gallon bucket of stain, and it only took about half of the bucket to do the whole fence, which is good because now we have some left over for when we inevitably have to re-stain it, which hopefully won't be for a couple of years. And the best part, in my opinion, was that it's latex based instead of oil based, which means that you can use your good rollers and brushes without fear of ruining them or gumming them up.

Compared to plastering, staining the fence wasn't bad at all. It's nice to start and finish a project in one day, and we even got to be outside soaking up the summer fog we're famous for in these parts.

We accomplished another backyard feat this weekend as well that I'll be gabbing about tomorrow. Hint: you can see it in the background of one of the pics in this post...

By the way, if your looking for the backstory on the fence, you can read all about it here, here, and here.

Friday, August 5, 2011

TGIF!

I am prepping the house for our first houseguest, as well as putting the finishing touches on my classroom for the start of school next week. Thanks to an unexpected classroom move on Monday, my first unofficial week back to work has been stressful to say the least...so I am taking the day off from blogging. My apologies but man am I grateful it is Friday!

I hope you get out there and enjoy these last fleeting days of summer. If I could, I would be flitting around in this, soaking up some sun, and perusing the September issue of House Beautiful.

Pinterest via Amber Bell via  justlikemarypoppins.blogspot.com

Instead there will be a whole lot plaster dust falling around us this weekend. 


Thank goodness we have a houseguest who's willing to be put to work! Whatever you are doing, have a great weekend and see you on Monday! 

Thursday, August 4, 2011

Hutch Tranformation

On Monday I related our absolute luck in snagging this hutch for a mere $15 at a community garage sale.


What I failed to disclose was that it was in pretty sorry shape (and it weighed a bloody ton), which helps to explain the $15.00 price. Even though I was told this beauty was a family heirloom, it had been in storage for sometime, and apparently a foam mattress had be kept on top of it. Over the years the foam from the mattress adhered itself to the hutch, leaving a lot of this in its wake.


Unfortunately, this piece has a thin veneer, so sanding it down and staining it was not an option. Enter my weapon of choice: a flexible putty knife.


I carefully (this is the operative word) used the putty knife to scrape off as much of the mattress material as I could without also scraping off the veneer or damaging it. I was still left with a lot of fuzzies like you can see below, so I needed a second line of defense.


I tried using a terry cloth rag soaked in Murphy's Oil Soap, but that did not have enough teeth to it, so I moved on to one of those green scouring sponges you use to clean stainless pots and pans. I really saturated it with Murphy's so it was nice and damp, and then again gently scrubbed. Wouldn't you know that it lifted the fuzzies without damaging the veneer? At this point I might have shouted in glee. 


With all the fuzz crud gone, it was time to remove the hardware and polish it up, as well as clean the hutch so that I could try to restore it to it's former glory with some Howard's goodness. 


First I used a handheld brush to get rid of all the cobwebs and creepy crawlies. Then I wiped it down with some Method Wood Polish and I let it dry for about a half hour. 

While the hutch was drying, I busted out some brass polish we had on hand and polished up the brass hardware. Here it is before. 


And I forgot to snap an after pic, so here it is all shined up on the hutch. 


Next it was time to bring in the big guns: Howard's Restor-a-Finish and Feed-n-Wax. 


I followed the directions for both products, but basically you wipe the Restor-a-Finish on with a soft cloth, let it absorb for about a half hour, and then wipe off any excess. Then you seal in the newly vibrant finish with the Feed-n-Wax by again applying with a soft cloth, waiting at least 20 minutes, and then buffing away the excess. 

After a few hours of elbow grease, the hutch was looking all shiny and refreshed. 


I liken my handiwork to good plastic surgery; she still has some character marks in the form of drink rings and a bit of broken glass, but she looks good for her age. 


I think that these battle scars lend her some history and show that she has been loved. It also makes me not worry so much about the wounds she might endure here with two stupidly big dogs and future kids running around. So while we only have plans to switch out that broken glass for tempered glass in the not-too-distant future, we might change our minds about all that charming character and paint her one day. Who knows. 

For now I am just dying to finish up texturing the dining room so we can paint, move her into position, and style her up with all our wedding china and crystal.