Tuesday, April 12, 2011

Vanilla Coconut Cupcakes with Coconut Frosting

This one is going out to my closet male readers who have requested more recipes. You know who you are.

I made a yummy Sunday dinner for my mom: roasted chicken, mashed potatoes, a salad with our homegrown lettuce, and these vanilla coconut cupcakes for dessert. I really wish I could share the roast chicken recipe, but it is not public domain; it's from the Big Sur Bakery Cookbook, and since it's my favorite restaurant and a local institution, I don't really feel okay about about pilfering their copyrighted recipe. I will highly encourage you to grab a copy of the cookbook. Every recipe I have made is delicious. You won't be disappointed!


One quick word on roasting chicken or any foul - brining for at least 6 hours, but preferably overnight, is the key. It comes out moist every time guaranteed, regardless of weather you roast in the oven or throw it on the BBQ. Everyone will think you are a culinary genius, but it is so simple and easy!

Okay, on to dessert.

Here's the final product...

Recipe from Epicurious.com

The first step is to reduce your coconut milk by boiling two 13 to 14 oz cans of unsweetened coconut milk over medium high heat. The coconut milk will boil up high, at which point reduce the heat to medium low and boiled until reduced to 1-1/2 cups, or until it looks like this:


Now it's time to work on the cupcakes.

Ingredients for cupcakes:
2 cups all purpose flour
2-1/4 t baking powder
1/2 t salt
3/4 (1-1/2 sticks) unsalted butter, room temperature
1-1/3 c sugar
3 large eggs
1-1/2 t vanilla extract

1 c reduced coconut milk (see above)

Directions for cupcakes:
Preheat the oven to 350 degrees and line 1/3 cup cupcake tin with paper liners. Whisk dry ingredients (flour, salt, backing powder) in a bowl and set aside.

Using an electric mixer, beat butter in a large bowl until smooth.


Add sugar; beat on medium-high speed until well blended, about 2 minutes. (No picture. Sorry.) Add 2 eggs, one at a time, beating well after each addition and occasionally scraping down the sides of the bowl. Beat in vanilla and remaining egg. Add 1 cup reduced coconut milk.

Mix in half of flour mixture on low speed until just blended. Scrape down sides of the bowl and add remaining flour mixture, again mixing on a low speed until just blended.

Divide batter among cupcake tins.


Bake cupcakes until tops spring back when gently touched and/or fork inserted into the center comes out clean, about 20 mins. Cool completely before frosting.

Speaking of frosting...

Ingredients for frosting:
1 c (2 sticks) unsalted butter, room temperature
2-1/2 c powdered sugar
1/3 c reduced coconut milk, room temperature
1-1/2 t vanilla extract
1/8 teaspoon salt
1-1/2 cups sweetened coconut, lightly toasted (for garnish)

Directions for frosting:
Beat butter using an electric mixer until smooth. Add sugar, coconut milk, vanilla extract, and salt. Beat on medium-low speed until blended, scraping down the sides of the bowl. Increase speed to medium-high and beat until light and fluffy.


Frost cooled cupcakes using a knife or pastry bag.


Sprinkle toasted coconut over the top. Enjoy!


Monday, April 11, 2011

Hammer Time!

No, I am not going to bust out my hammer pants and my sweet circa 1989 dancing moves, but there is video of me wearing the pants and doing the dance at a cousin's wedding. Thankfully, I do not know where that video is.

I do, however, want you to meet my new best friend, Jack. We spent a lot of quality time getting to know each other this weekend.


We busted up 4 random areas of our all-concrete-and-deck backyard to make room for a little grass. And no, I am not just posing with the heavy machinery; I actually busted up all the concrete myself while the hubs loaded it into his truck to take to the dump.

Here's what we started out with:


(Don't mind the doggy butt.) And here's our handiwork:


The concrete juts out now at a weird angle, but we are hoping that by re-potting the lemon tree and moving it, we can camouflage that awkward corner. In addition, we are hoping the eye gets distracted with the lush green grass we are planning to plant between the patio and the fence.

Here's the plan for next(?) weekend: rake out all the small pieces of concrete that didn't fit in Ryan's packed-to-the-brim truck bed, go back to the dump to get a ton (literally) of topsoil, spread out said topsoil, and sow some grass seed. It will be nice for the pooches (and us) to have some grass; they really hate peeing on the concrete/deck.

Oh, and here's an action shot of Jack and I.


Glamorous, no? Actually, whipping that power cord around reminded me of the train on my wedding dress, and I've got to be honest, there is something thrilling and a little bit sexy about handling power tools. (I am pretty sure the husband thought so too!)

But it's a good thing that Jack and I get along so well because we made a disappointing discovery this weekend: underneath all that deck...


is concrete. My jackhammering days are definitely not over!

Oh, and for anyone wondering how much the demolition derby cost, here's a breakdown:
  • Jackhammer - free (borrowed it from the guy's company)
  • Dump - $5.00 (it turns out that they break it down and resell it as aggregate so it's cheaper than a normal dump run)
  • (Wo)Man Power - free, but if you ask my shoulders today, they would tell you a different story
Grand Total - $5.00

We expect next weekend's project will run us another $50.00, which will cover the topsoil. We already have the seed, so we are going to start with that and pray that it sprouts so we don't have to buy sod. 

Friday, April 8, 2011

Fashion Friday: Public Declarations

Spring was here momentarily on the Central Coast, and I am confident that it will return soon. Now that winter is a thing of the past, it is time to shed the layers and tone up for all the jet setting I have planned for spring and summer. (Yeah, right! We just bought a house.)

But seriously, moving in the midst of the craziest time of the school year really threw a monkey wrench into my workout routine, and in the last few weeks I have slowly but surely been getting back on track. Now that I am settling back into my old habits of running a few times a week and walking or hiking on the days in between, I want to kick it up a notch so I am ready for all that fun spring and summer fashion.

Enter Tracy Anderson, trainer to the stars.


I have been using her home workout DVD's for about 2 years now intermittently. Her Method is two fold: 45 minutes of dance cardio, and another 45 minutes of body sculpting - insane dynamic weight-bearing exercises done on angles. I have never really gotten into the dancing part because the routines were too complicated for this klutz and I do a lot of cardio with the pups. However, the dynamic movements are killer in every sense of the word; it's amazing how quickly they tire out your large muscle groups and target the smaller muscles to pull everything together, all by just using your body weight. When I am doing the sculpting portion regularly, I see major results in my problem areas.

But the problem is I tend not to do it regularly. So here is where the public declaration comes in: I ordered her new "Hipcentric" line of Metamorphosis DVD's about a month ago, and I am committing to doing at least the sculpting DVD 4 days a week. At first I thought I would get up at 5 am and work out before school 5 days a week, but let's face it, that is never going to happen. Four days a week seems reasonable, doable, attainable. And I still think I will see results.

So there it is. I am on track for this week, but I will let you know how it is going in a month or so. (The next two weeks should be cake thanks to CST's and spring break.)

What are you doing these days after a winter of hibernating?

Thursday, April 7, 2011

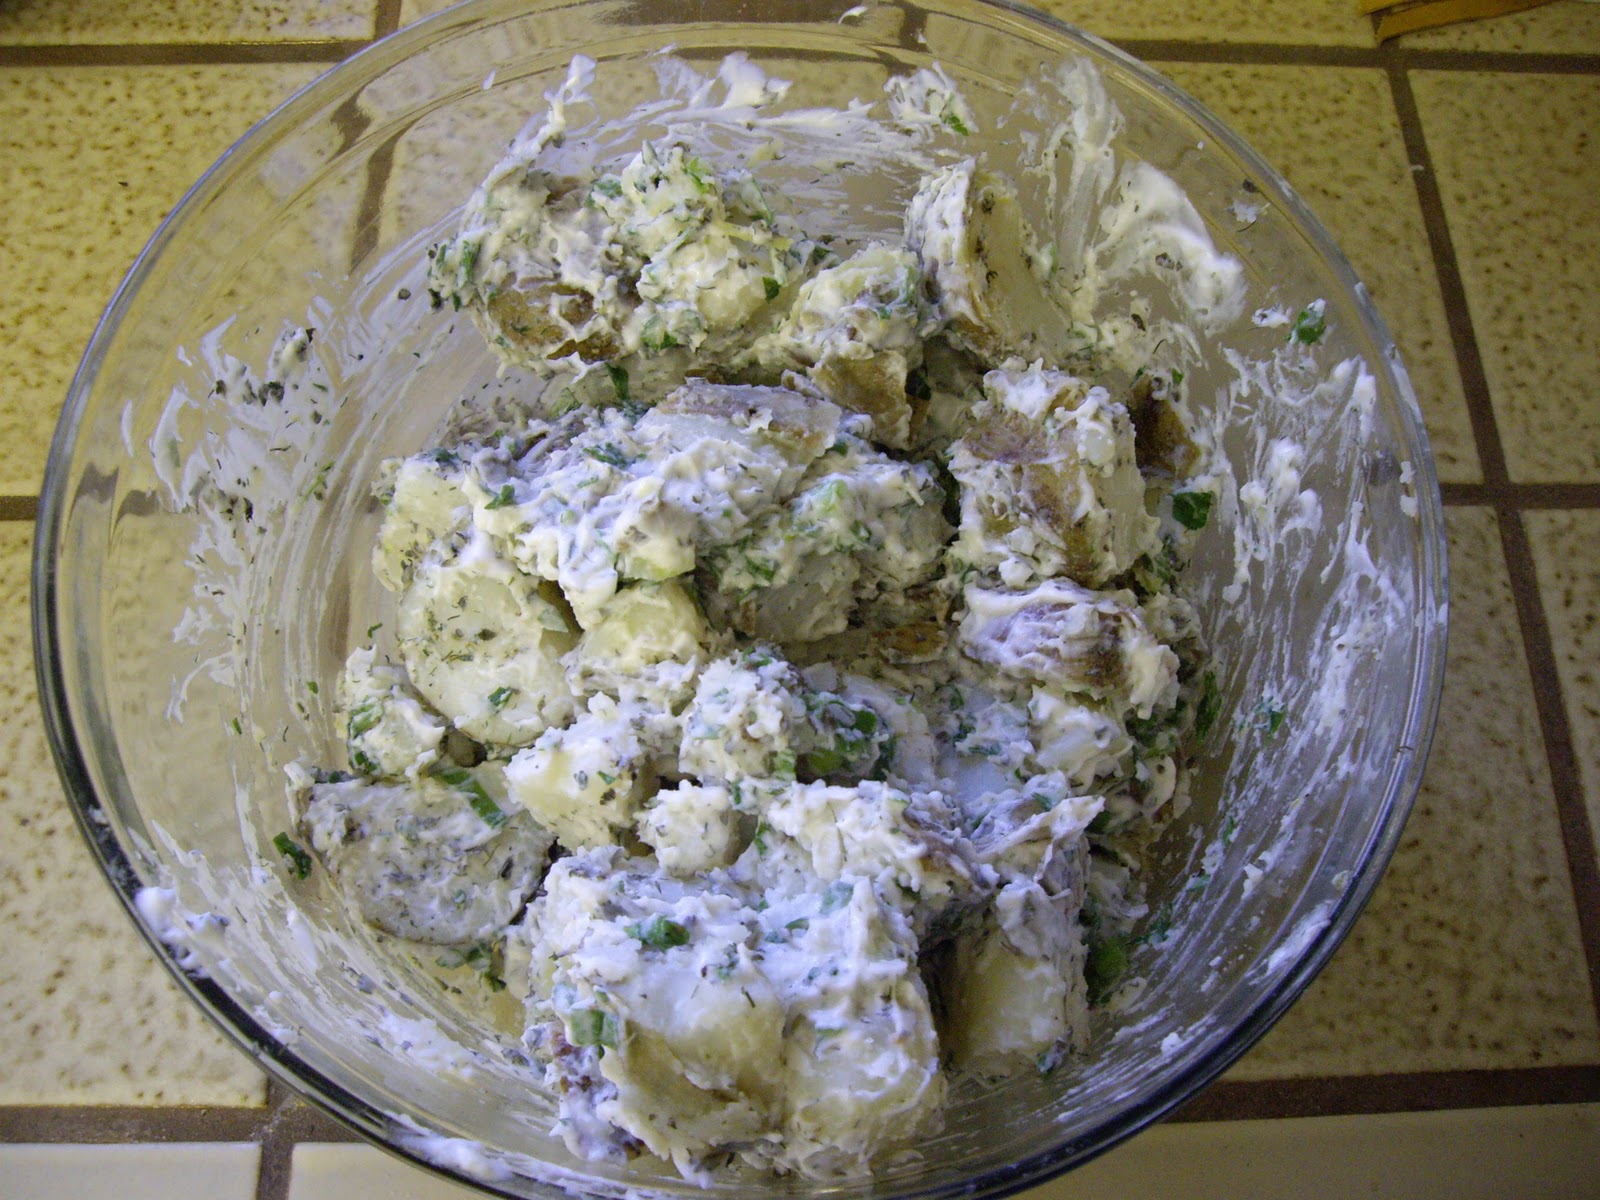
Creamy Potato Salad with Lemon and (Fresh) Herbs

My husband *loves* mayo. It is definitely his favorite condiment - so much so that our friends got him a Costco-sized tub of it for Christmas one year - and quite possibly his favorite food. Of course, it is one of my least favorite foods. I have never taken a liking to potato salad or macaroni salad, despite my love of carbs, because it is always smothered in mayo.

Why do I bring up the great mayo debate that is constantly raging in my house? Because I have hit on a potato salad recipe that miraculously pleases both a mayo lover and hater, thanks to the mayo being tempered by bright herbs and zesty lemon. With BBQ's everywhere being fired up on these breezy spring evenings, with herbs growing in freshly planted gardens, and with summer gatherings just around the corner, there is no better time to get your mayo on with this twist on the classic potato salad.  

Ingredients
3 lbs baby red potatoes (other varieties like Russets and creamers will work too)
3 T unseasoned rice vinegar
3/4 c mayo
3 medium green onions, thinly sliced
1 celery stalk, cut into 1/3 inch cubes
1/4 c fresh parsley (or 1/8 c dried)
1/4 c fresh basil (or 1/8 c dried)
2 T dill (or 2 t dried)
1-1/2 t lemon zest
salt and pepper to taste

Directions
Bring quartered potatoes (or 3/4 inch chunks if using larger varieties) to a boil, and simmer until potatoes are tender, about 10-15 minutes. (I like the use the fork trick on them: if the fork penetrates the potato easily, but before it falls apart, they are tender.) Drain and let cool for at least 20 minutes.


Season potatoes with salt, pepper, and vinegar. Add all remaining ingredients; toss.


Season again with salt and pepper to taste. Cover and chill. Can be made ahead and keeps well for about 5 days. It's great with anything grilled. We had it last night with pork chops, and will eat it again tonight with some sausages.

Oh, and if you need a little boost on this Thursday, check out this link: http://www.reddit.com/r/AskReddit/comments/gibxk/i_like_big_butts_and_i_cannot_lie_but_is_there/
Thanks, Meg! I can't stop laughing!

Wednesday, April 6, 2011

Wednesday Eye Candy: Variations on a Theme

I am so jonesing to paint the bedroom (spring break countdown: T minus 8 working days!) that all I can see these days are soft aqua bedrooms. So here's some green blue beauties courtesy of House Beautiful.


Whether it's paired with similar hued blues, punchy citruses, or calm neutrals, there is something so tranquil about this recycled glass color to me.

Happy Wednesday!

Tuesday, April 5, 2011

Where Does Your Garden Grow? Part II

This weekend we finally got around to planting those straggler veggies and herbs that didn't find a home last weekend after we tore up the front yard.


We planted in an already-in-place planter box in the side yard. (The other side yard opposite the deck.) The side closest to the camera is all herbs (basil, cilantro, chives, and parsley), in the middle we have red leaf and romaine lettuce, and the far side of the planter is broccoli.

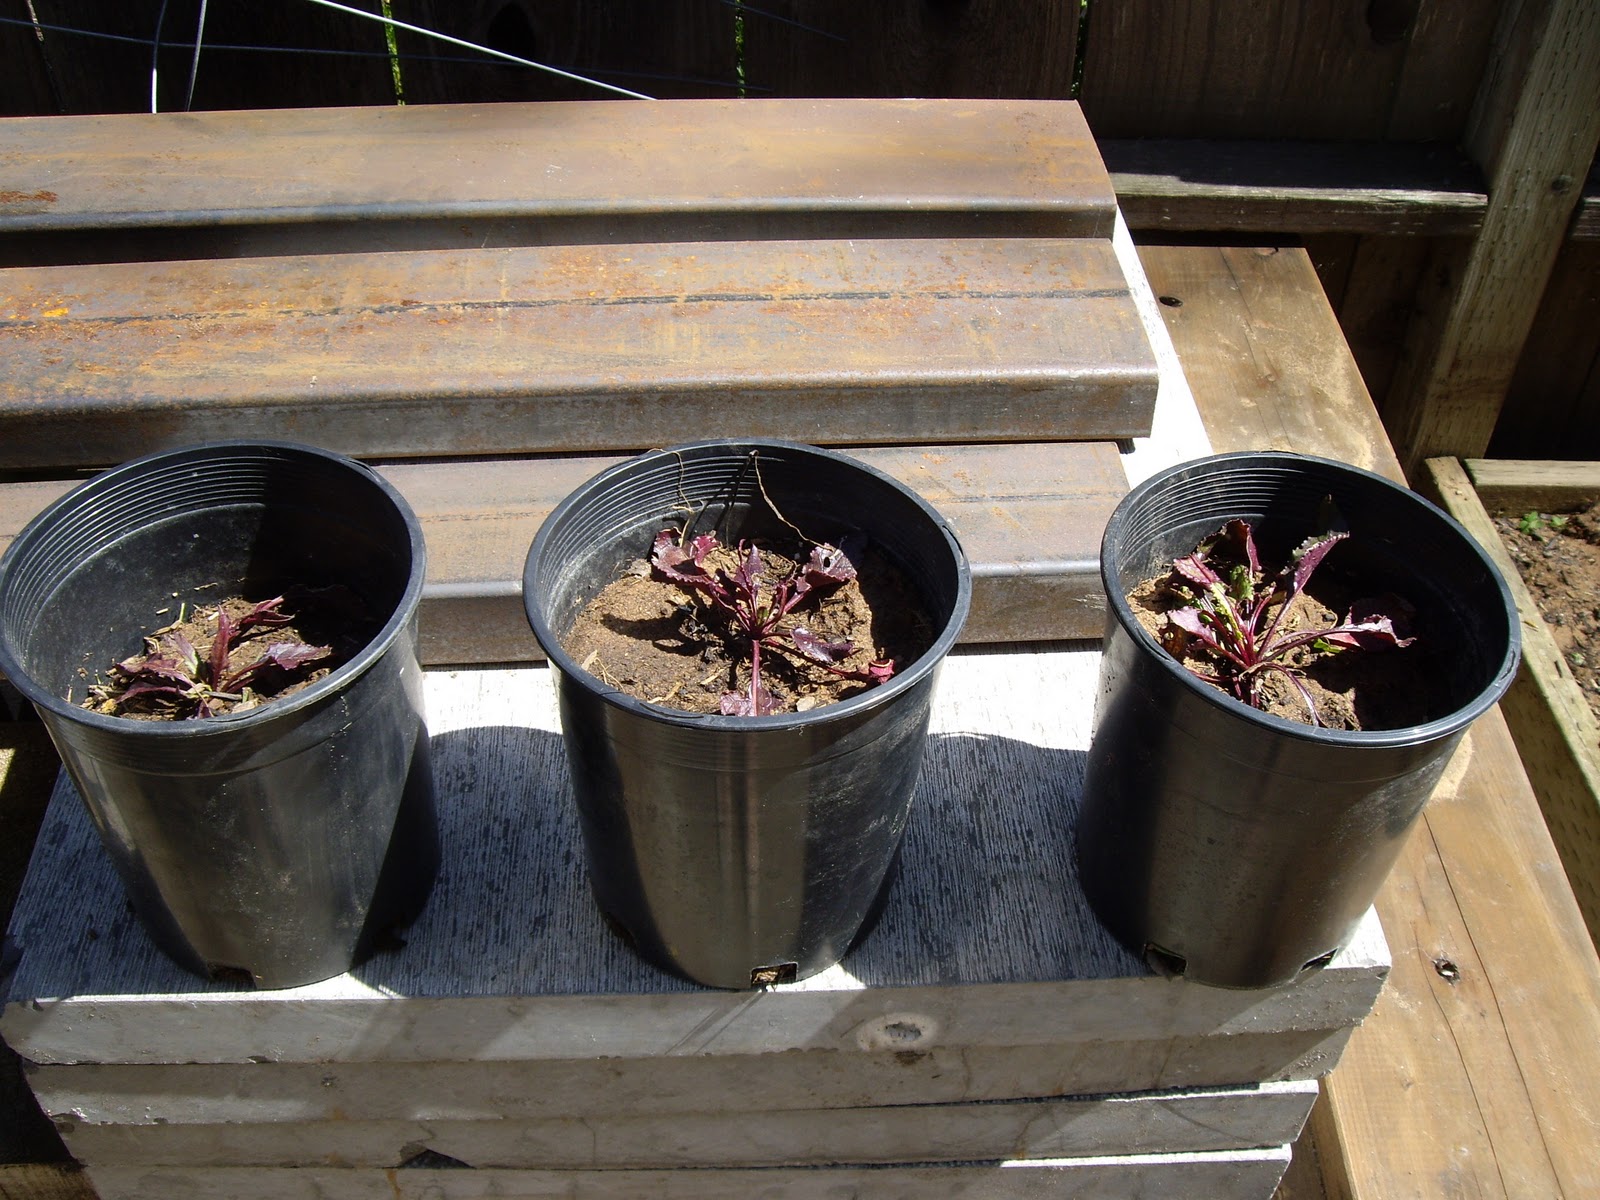
In addition, we are trying to start some seeds for next season. (Ryan claims he knows what he is doing; I have no clue.) We are starting with beets because supposedly they are easiest.


Here are our beets, sitting on some stone that we want to (eventually) use to landscape the front and backyards.

So far the front yard garden is growing well. It pretty much still looks just like this, only the tomatoes are a little taller a week later:


Now I just need to DIY some cute stakes (maybe with chalkboard paint), to label all our home grown goods...

Monday, April 4, 2011

Front Door Mini Makeover

Do you ever feel like the universe is conspiring against you? I have felt this way since Thursday. It all began when Blogger was not cooperating and refused to publish my post. After being cussed out by a student and staying late to see our school's (phenomenal) production of Urinetown, I thought I would let the universe have its way with the blog for the rest of the week. (Sorry guys!) Then Saturday I spent 8 hours at a CPR training. (This was not the universe, but BTSA conspiring against me.) Sunday our master shower pluming decided to snap in twain when the hubs tried to snake it. (I have a lot of long hair.) Then our toilet in the second bath shut down. Plumbing problems not withstanding, there have been some highs in between the parade of lows, but I am definitely ready to turn things around and start fresh this week.

Enter a front porch - if you can even call it that - mini makeover.


We *finally* changed the deadbolt (since we weren't sure who exactly had the keys to our pad), and we got doormats for all the exterior doors to the house. I love this fun striped doormat by Smith and Hawken for Target that I scored for $24.99. (We got one for the double slider in the living room too, since it's extra long and the colors tie in.) Doesn't it scream summer?


You have to see the carpet remnants that we were using before to really appreciate how those punchy stripes improved things.


And here's a close up of the new deadbolt for those interested.


It's not a perfect match to the door handle by any means, but it is much better than the brass deadbolt that was there for the first 6 weeks of living here. (Of course, I didn't snap a before pic. The hubs surprised me with this upgrade while I was fixing dinner.) And let's be honest, who cares what it looks like when you have peace of mind that random strangers are not running around with the key to your kingdom.

Let's zoom out of a second so you can get a sense of how claustrophobic the porch is:


I had hoped to place some plants on either side of the door on the porch itself, but it looks like we will have to get some larger planters to go where my sad little stand in pots currently are. I am not sure what I want to plant yet, but I am thinking something vertical surrounded by succulents. That will be next Sunday's project after we jackhammer out some backyard concrete on Saturday.

Beyond the potted plants on either side of the entry, we still have to get some lighting that works, house numbers, and figure out what to do with the door. I want to paint it, Ryan wants to stain it. Ah, the age old debate in this house: to paint or to stain? Either way, we both agree that the stained glass has got.to.go! We are thinking some seeded glass down the line, but there are bigger curb appeal projects to tackle first... Like the whole front yard!